

- Introducing the concept of React custom hooks
- What is a custom hook in React
- Why you need to use custom Hooks in React
- Why and when to use React Custom Hooks
- Rules of Custom React hook
- Getting started with your React app
- Creating your custom Hooks
- Example:
useFetchcustom hook - Example:
useTogglecustom hook - Example:
useRequireAuthcustom hook - Example:
useCopyToClipboardcustom hook - Example:
useDeviceDetectcustom hook - Example:
useEffecthook - Example:
useStatehook
- Example:
- Conclusion
- Further readings
- Videos examples
- About Copycat
Introducing the concept of React custom hooks
ReactJS has introduced powerful improvements to web development since its introduction in 2013 as part of the family of UI libraries. This improvement is not only thanks to the introduction of custom hooks, but also amongst others. These improvements are evident in the speed of development of web applications and the efficiency of the web applications.

React also is the most popular web framework, according to the most recent Stack Overflow study, while Angular came in ninth.
React custom hooks are reusable functions that support the principles of ReactJS as identified above—support for reusable components, which are the building blocks of a React application. Hooks were also a new addition to ReactJS in v16.8.
What is a custom hook in React
React hooks and React custom hooks let you use state and other React features without writing a class in your React component. A custom Hook is a JavaScript function whose name starts with use and that may call other Hooks. The reason why custom hooks must start with the use keyword, is so that you can tell at a glance that the rules of Hooks apply to it.
React custom hooks are a mechanism to reuse stateful logic (such as setting up a subscription and remembering the current value), still every time you use a custom Hook, all state and effects inside of it are fully isolated.
Why you need to use custom Hooks in React
- Custom React hooks enable you to remove unnecessary duplicated logic across your React components
- Custom Hooks offer the flexibility of sharing logic that were not possible in React components before.
- Reusability — The same hook can be used repeatedly without having to write twice.
- Maintainability — Simpler to keep up. The logic of the hook only needs to be altered once, if at all.
- Great Community — The likelihood is that the hook you’re considering has already been developed by someone. There are a ton of Custom Hooks on the web! You can locate one that fits your needs, utilize it as is, or even better, use it as a springboard to create something great!
- Clean Code — A cleaner codebase will result from extracting all component logic into a hook.
Why and when to use React Custom Hooks
As stated earlier, we use React Hooks because since its introduction, quite a while ago, Hooks gave function components the ability to use state and side-effects with built-in Hooks such as React’s useState Hook and React’s useEffect Hook.
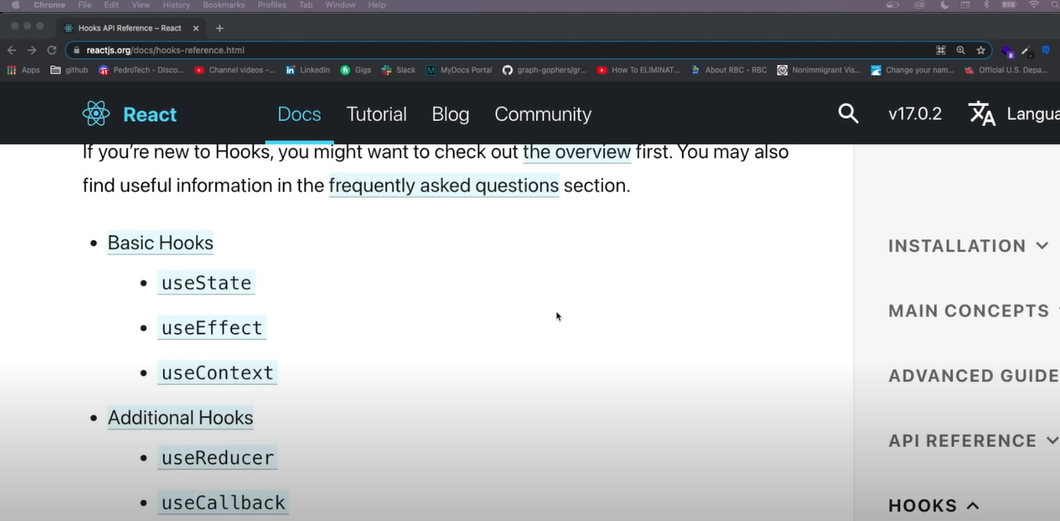
React only comes with a few number of built-in hooks, including useReducer, useCallback, useMemo, useContext, useState, and useEffect. However, React developers can design their own react custom hooks, known as custom hooks, by using existing Hooks as a foundation. In this tutorial, I will walk you through how to create a custom hook.
Rules of Custom React hook
- Custom Hooks must have the prefix
usein their namings. A unique hook might be calleduseFetchoruseDate, for instance. In this tutorial, you will be walked through the nitty-gritty of creating a custom hook, one of such is theuseFetchcustom hook. - Custom Hooks consist of built-in React Hooks or other custom Hooks. This entails that, a custom Hook is always a new composition of one or more Hooks. If a custom Hook does not use any hook internally, it is not a custom Hook and should not have the prefix
use. - The reason why you must start your Custom React hook with the prefix
useis that it enables linters to quickly spot bugs, such as scenarios where usage goes against the rules of Hooks. - You should only call Hooks at the top level. Hooks should not be called inside loops, conditions, or nested functions. Hooks should be used at the top level of your React function, before any early returns.
- Only call Hooks from React function components. Hooks should not be called from regular JavaScript functions. If you are wondering why these rules exist, it is because React uses the order that Hooks are invoked to associate each Hook with a certain local state. Placing a Hook inside of a condition can alter this order, preventing the subsequent Hooks from being called and, most likely, leading to bugs.
Getting started with your React app
In this tutorial, you will be creating a React app using CRA.
Setup your development environment
You will scaffold a new React project. In this tutorial, I refer to my React app as custom-hook-tutorial. In your terminal, type the following:
npx create-react-app custom-hook-tutorial
After having created your app and all dependencies automatically installed, you will need to navigate into the project directory and run the app. For that, run the following command in your terminal:
cd custom-hook-tutorial && npm start
You should see similar output below in your terminal:
$ npm start

> custom-hook-tutorial@0.1.0 start
> react-scripts start
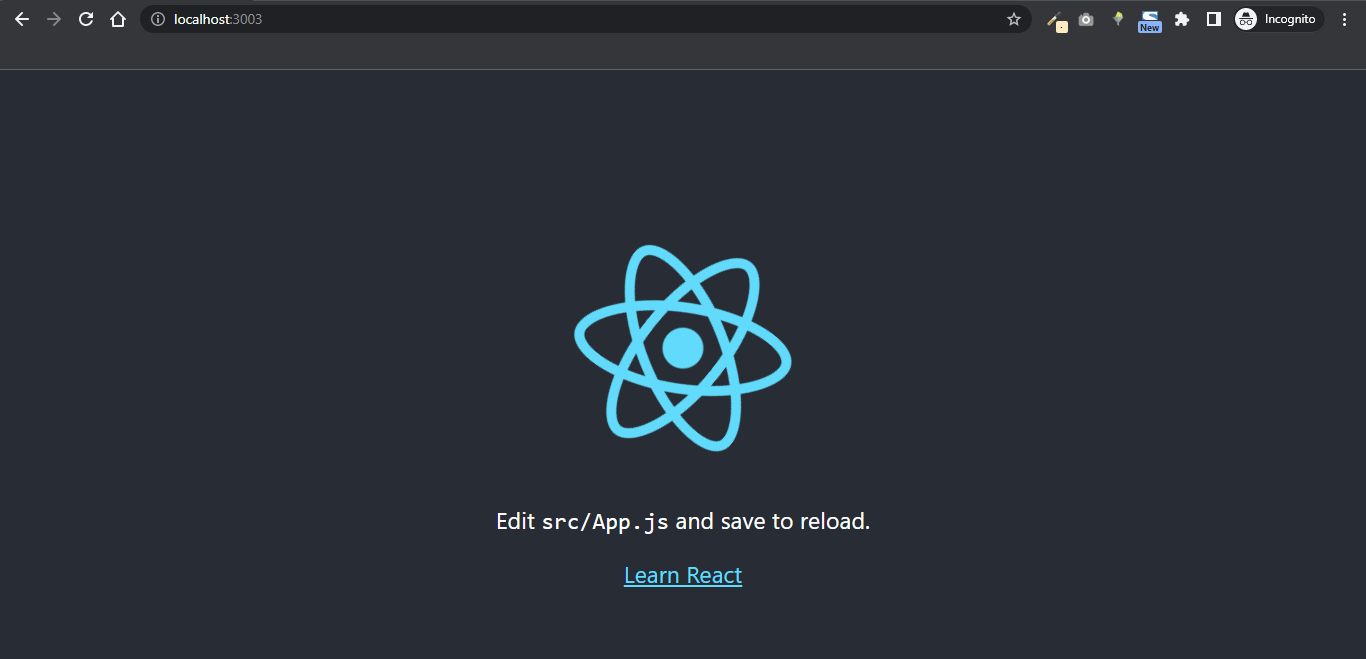
Your React app will then start hot reloading your development environment and your app should be running on localhost:3000 by default.
Creating your custom Hooks
In this tutorial, I shall walk you through how to create your custom hooks which include useFetch, useToggle, useRequireAuth, useCopyToClipboard, and useDeviceDetect custom hooks. Let’s get started!

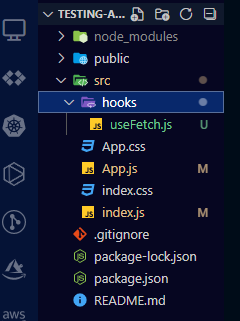
In every React project, I like to have my own useFetch custom hook. In your src folder, create a new folder called hooks. This folder shall contain all your custom hooks.
Example: useFetch custom hook
The useFetch custom hook is used to fetch data from an API. You will build it to return isPending, error, and the data.
Inside your hooks folder, create a file and name it useFetch.js and paste this code below. We must use the prefix use as earlier discussed earlier.
// useFetch.js
import React from "react";

import { useState, useEffect } from 'react';

export const useFetch = (url, fakeData = "") => {

  const [isPending, setIsPending] = useState(true);
  const [error, setError] = useState(null);
  const [data, setData] = useState(fakeData);


  useEffect(() => {

    const abortCont = new AbortController();

    fetch(url, { signal: abortCont.signal, })
      .then(res => {
        if (!res.ok) {
          throw Error("Could not connect to the server");
        }
        return res.json();
      }).then((data) => {
        setData(data);
        setIsPending(false);
      }).catch(err => {
        if (err.name === "AbortError") {
          setError(err.message);
          console.error("Fetch Aborted.");
          throw Error("Fetch Aborted.");
        } else {
          setError(err.message);
          throw Error("An error occurred while trying to fetch from the remote server.");
        }
      });

    return () => abortCont.abort();
  }, [url,]);

  return { isPending, error, data, };
};


// How to use

 const {
    isPending, error, data
  } = useFetch(URL, fakeData);

  if (error) {
    console.error(error);
  }
Let us go through our code and see how it works and what each piece does:
1. You initialized the state of our app using React state hook (useState)
const [isPending, setIsPending] = useState(true);
const [error, setError] = useState(null);
const [data, setData] = useState(fakeData);
- You initialized isPending to
true - You initialized error to
null - You initialized data using a custom
fakeData
2. You use the JavaScript fetch API to fetch data from a custom url. You then used the state; setData to persist the fetched data in your app’s state.
fetch(url, { signal: abortCont.signal, })
   .then(res => {
     if (!res.ok) {
       throw Error("Could not connect to the server");
     }
     return res.json();
   }).then((data) => {
     setData(data);
     console.log(data);
     setIsPending(false);
   }).catch(err => {
     if (err.name === "AbortError") {
       setError(err.message);
       console.error("Fetch Aborted.");
       throw Error("Fetch Aborted.");
     } else {
       setError(err.message);
       throw Error("An error occurred while trying to fetch from the remote server.");
     }
   });
- For an in-depth walk-through on how to fetch data from API using the fetch API, please refer to this article.
3. You import react, then destructure the return object in other to use the result. Here, we are using console to log the data.
 import React from "react";

const {
    isPending, error, data
  } = useFetch(URL, fakeData);

   console.log(data);

  if (error) {
    console.error(error);
  }
Example: useToggle custom hook
The useToggle custom hook essentially toggles a parameter’s value from true to false by taking a parameter with one of those two values. It comes in handy when you wish to change one action into its opposite, such as when we want to reveal or conceal a modal, show more or less text, or open or close a side menu.
Still inside your hooks folder, create a file and name it useToggle.js and paste this code below.
import React from "react";
import { useCallback, useState } from 'react';

// Usage
export default function App() {
    const [isTextChanged, setIsTextChanged] = useToggle();

    return (
        <button onClick={setIsTextChanged}>{isTextChanged ? 'Toggled' : 'Click to Toggle'}</button>
    );
}

// Parameter is the boolean, with default "false" value
const useToggle = (initialState = false) => {
    // Initialize the state
    const [state, setState] = useState(initialState);

    // Define and memorize toggler function in case we pass down the component,
    // This function change the boolean value to it's opposite value
    const toggle = useCallback(() => setState(state => !state), []);

    return [state, toggle]
}
Example: useRequireAuth custom hook
import React from "react";


import Dashboard from "./Dashboard.js";
import Loading from "./Loading.js";
import { useRequireAuth } from "./use-require-auth.js";


export default function DashboardPage(props) {
  const auth = useRequireAuth();
  // If auth is null (still fetching data)
  // or false (logged out)
  // then show loading indicator.
  if (!auth) {
    return <Loading />;
  }
  return <Dashboard auth={auth} />;
}


// (use-require-auth.js)
import React from "react";

import { useEffect } from "react";
import { useAuth } from "./use-auth.js";
import { useRouter } from "./use-router.js";
function useRequireAuth(redirectUrl = "/signup") {
  const auth = useAuth();
  const router = useRouter();
  // If auth.user is false that means we're not
  // logged in and should redirect.
  useEffect(() => {
    if (auth.user === false) {
      router.push(redirectUrl);
    }
  }, [auth, router]);
  return auth;
}
Adapted from https://usehooks.com/
Example: useCopyToClipboard custom hook
The useCopyToClipboard custom hook allows you to copy the contents of the text to clipboard.
import React from "react";


const useCopyToClipboard = text => {
  const copyToClipboard = str => {
    const el = document.createElement('textarea');
    el.value = str;
    el.setAttribute('readonly', '');
    el.style.position = 'absolute';
    el.style.left = '-9999px';
    document.body.appendChild(el);
    const selected =
      document.getSelection().rangeCount > 0
        ? document.getSelection().getRangeAt(0)
        : false;
    el.select();
    const success = document.execCommand('copy');
    document.body.removeChild(el);
    if (selected) {
      document.getSelection().removeAllRanges();
      document.getSelection().addRange(selected);
    }
    return success;
  };

  const [copied, setCopied] = React.useState(false);

  const copy = React.useCallback(() => {
    if (!copied) setCopied(copyToClipboard(text));
  }, [text]);
  React.useEffect(() => () => setCopied(false), [text]);

  return [copied, copy];
};
Let us go through our code and see how it works and what each piece does:
- You used the
useState()hook to initialize thecopiedvariable. - You used the
useCallback()hook to create a callback for thecopyToClipboardmethod. - You used the
useEffect()hook to reset thecopiedstate variable if the text changes. - Finally, you returned the copied state variable and the
copycallback.
Example: useDeviceDetect custom hook
The useDeviceDetect custom hook essentially allows you to detect whether your users are on a mobile device or not.
// utils/useDeviceDetect.js
import React from "react";

export default function useDeviceDetect() {
  const [isMobile, setMobile] = React.useState(false);

  React.useEffect(() => {
    const userAgent =
      typeof window.navigator === "undefined" ? "" : navigator.userAgent;
    const mobile = Boolean(
      userAgent.match(
        /Android|BlackBerry|iPhone|iPad|iPod|Opera Mini|IEMobile|WPDesktop/i
      )
    );
    setMobile(mobile);
  }, []);

  return { isMobile };
}
Adapted from ThisCodeWorks
Example: useEffect hook
The useState useEffect from React are hooks introduced in version 16.8. The useEffect Hook allows you to perform side effects in your React components. This hook is the part of the foundation to build your custom hooks as seen above.
Some examples of side effects are: fetching data, directly updating the DOM, and timers.
useEffect accepts two arguments. The second argument is optional.
useEffect(<function>, <dependency>)
import React from "react";

import { useState, useEffect } from "react";
import ReactDOM from "react-dom/client";

export default function Counter() {
  const [count, setCount] = useState(0);
  const [calculation, setCalculation] = useState(0);

  useEffect(() => {
    setCalculation(() => count * 2);
  }, [count]); // <- add the count variable here

  return (
    <>
      <p>Count: {count}</p>
      <button onClick={() => setCount((c) => c + 1)}>+</button>
      <p>Calculation: {calculation}</p>
    </>
  );
}
Adapted from w3schools
Example: useState hook
The useState useEffect from React are hooks introduced in version 16.8. The React useState Hook allows us to track state in a function component. This hook is the part of the foundation to build your custom hooks as seen above. For an in-dept guide on the useState hook, please see this article.
State generally refers to data or properties that need to be tracking in an application.
import React from "react";

import { useState } from "react";
import ReactDOM from "react-dom/client";

export default function Car() {
  const [car, setCar] = useState({
    brand: "Ford",
    model: "Mustang",
    year: "1964",
    color: "red"
  });

  return (
    <>
      <h1>My {car.brand}</h1>
      <p>
        It is a {car.color} {car.model} from {car.year}.
      </p>
    </>
  )
}
Adapted from w3schools
Conclusion
Almost all of the information you require about creating and using custom react hooks is covered in this article. You were walked through the nitty-gritty of creating a custom hook with real examples of custom hooks.
We have shown how easy it is to create custom hooks and how many (open) sources are available for finding inspiration and using custom hooks that already exist (I attached more sources below).
Try to spread this guide on the internet if you find it interesting.
Thinking of learning more? Find below some links to further tutorials:
Further readings
- Beautiful hooks – A curated list of hopefully useful React hooks
- https://usehooks.com/ – Easy to understand React tutorials by ui.dev
- How to Build Your Own Hooks: A Step-by-Step Guide – freCodeCamp Blog
- React Documentation — Custom Hooks
- Awesome — Amazing Repository that includes docs, videos, tutorial, and Awesome Custom Hooks.
Videos examples

About Copycat
CopyCat allows you to build UI faster. All you need to do is just copy production-ready code generated directly from Figma designs using AI. As a result, you can focus on building interactions, animations, networking, and everything else that will make you stand out. You can be an exceptional front-end developer who develops UI quickly using CopyCat.
Related Articles
-
 React.js
Everything You Need to Know About TypeScript Typeof Operator
Introduction TypeScript is a superset of JavaScript that provides more strict type-checking functionality than JavaScript. TypeScript, like JavaScript, has an inbuilt typeof operator; we’ll look at the operator in TypeScript and how it works differently. What is typeof operator in…
October 31, 2022 -
React.js
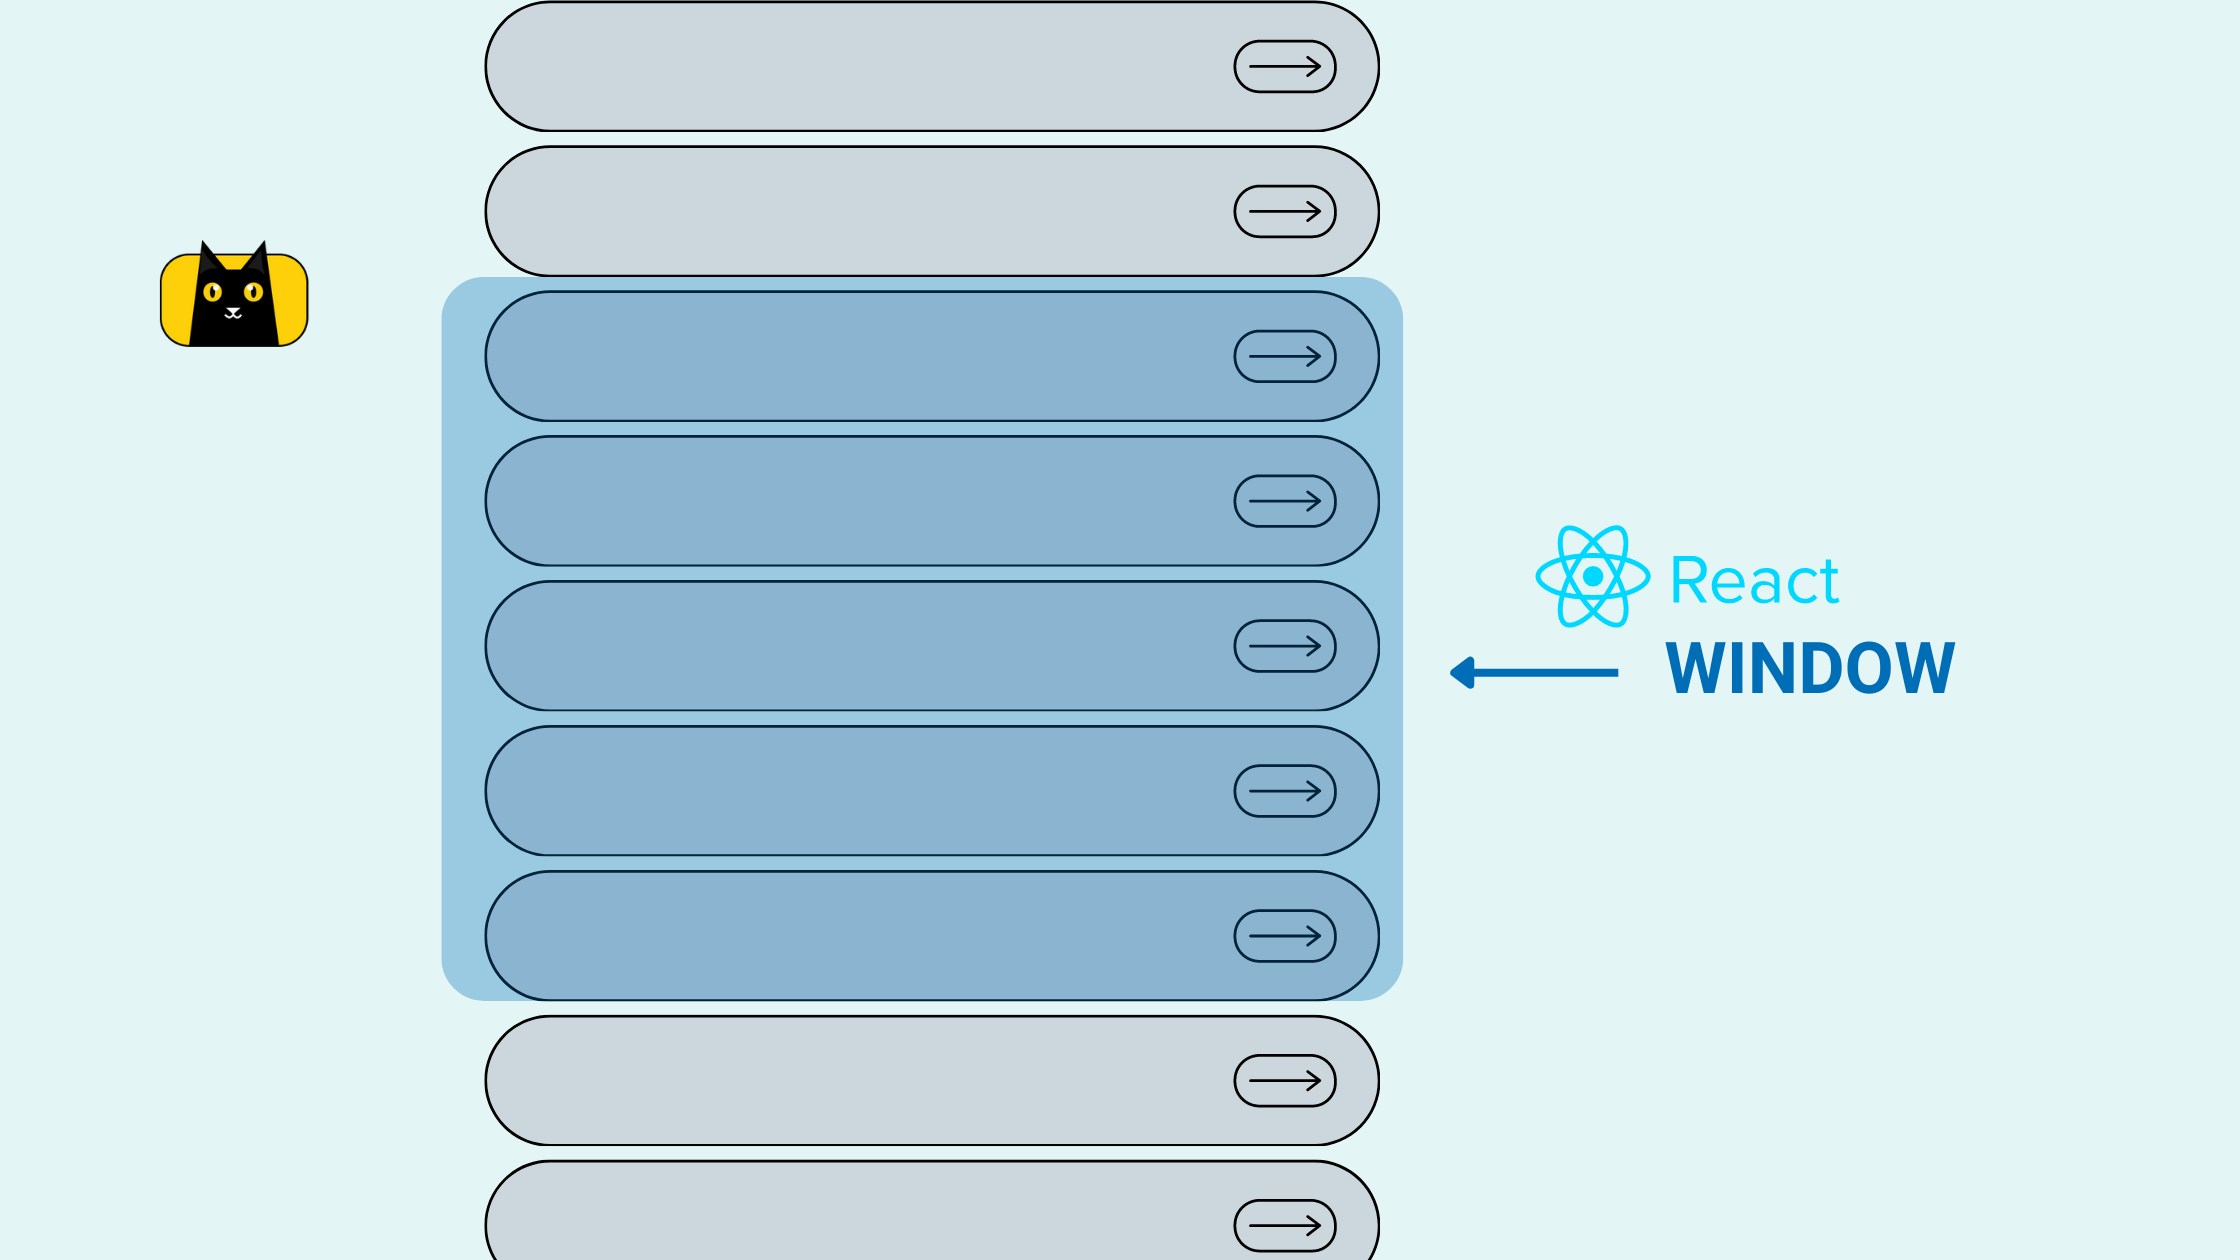
Optimize your App Performance by Large List Virtualization using React Window
Introduction Rendering a large list of data is a common feature that you might want to implement in your web application. From achieving infinite scrolls in social media feeds to product listings on e-commerce websites, the use cases are many.…
December 14, 2022