- Introduction
- Prerequisites
- What is React Player?
- Setting Up React App
- How to use React Player to Play Media in your React Component?
- Understanding and Application of the React Player Props
- How to Hide or Display Native Player Controls for Videos
- How to pass Multiple Sources and Track
- What are the other libraries for playing Video files in React Component?
- Conclusion
- Interesting Reads From Our Blogs

Introduction
A video on a website adds to the static content there, giving the user an engaging experience by supplementing it. Building enduring relationships with web visitors is easy with the help of videos. According to statistics, viewers are more likely to convert to leads after watching a video than after reading anything. This is due to the straightforward yet powerful method that video enables your business to reach out to your clientele.
In this article, we discuss and go through the process of adding and playing videos in your react applications using the React Player library.
Before we continue, do you know with the CopyCat plugin is a great React tool? CopyCat helps you make writing component code faster and production ready? Click here now to view.
Prerequisites
In order to benefit the most from this content, you must:
- Have basic knowledge of Javascript ES6 or Typescript
- Have basic knowledge and hands-on experience with React.js
What is React Player?

React Player is a package that allows you to play video and audio files in your React application (basically playing file paths) nonClick of a simple play icon or automatically when loaded. It offers a straightforward, declarative API for displaying multiple media types, including videos from prominent platforms like YouTube and Vimeo, as well as audio files.
The Media Source Extensions (MSE) API is used by React Player. The player is based on HTML5’s video and audio elements, to enable the playback of media files in browsers. It can be integrated into a React application using just one component. It is made to be flexible and simple to use.
You must first of all use npm or yarn to install React Player before utilizing it in your React application. To render a media player in your React application, import the ReactPlayer component from the react-player package.
However, a wide variety of media file types, including MP4, WebM, and OGG files as well as streams from different websites like YouTube and Vimeo, are supported by React Player. It also offers a number of events that you can listen for, such as onReady, onStart, and onEnded. It also allows you to customize the player using props like width, height, pip, and playsinline.
Also for playing audio and video files in a React application, React Player is a helpful library overall. It supports a variety of media types and systems and offers a straightforward, declarative API for displaying media players.
Setting Up React App

The command-line interface (CLI) tool, create-react-app can be used to create a new React application. Included in this tool are a development server, a build tool, and a variety of other features that are helpful when developing a React application. This automates the process of setting up a new React app.
It is important that you have Node.js and npm (or yarn) installed on your machine before installing the create-react-app CLI. Once you’ve installed these tools, use the following command to install create-react-app:
npm install -g create-react-app
This will enable you to use the create-react-app CLI to create new React apps on your system.
To create a new React app, type create-react-app followed by the app’s name. To create a new app called “my-app” for example, execute the following command:
npm create-react-app my-app // for npm
//or
yarn create-react-app my-app // for yarn
This will create a new directory in the current directory named “my-app” and build the files and folders required for the new React app. It will also use npm or yarn to install the required dependencies, such as React and React DOM.
Once the app has been created, navigate to the app directory and launch the development server with the npm start or yarn start command. This will launch the development server and open the app in a new browser window, allowing you to view and test the app while it is being developed.
You may consult the official documentation on the GitHub repository to learn more about using create-react-app to build up a new React app.
How to use React Player to Play Media in your React Component?
As mentioned earlier in the course of this article, you require Node.js, npm (or yarn), and the React Player package installed on your system in order to install and import it into a React application. You can carry out the following actions after installing these tools:
- Go to the directory containing your React app by opening a terminal or command prompt and entering the path there.
- To install the React Player package, use the npm install or yarn add commands. For instance, you may use the command below to install the package:
npm install react-player // for npm
//or
yarn add react-player // for yarn
3. Put the ReactPlayer component in the file where you wish to utilize it by importing it from the react-player package. Afterward, use the ReactPlayer component to render a media player in your React application. An illustration would be:
import React from 'react';
import logo from './logo.svg';
import './App.css';
import ReactPlayer from 'react-player';

function App() {
  return (
    <div className="App">
        <ReactPlayer url='<https://www.youtube.com/watch?v=ysz5S6PUM-U>' />
    </div>
  );
}

export default App;
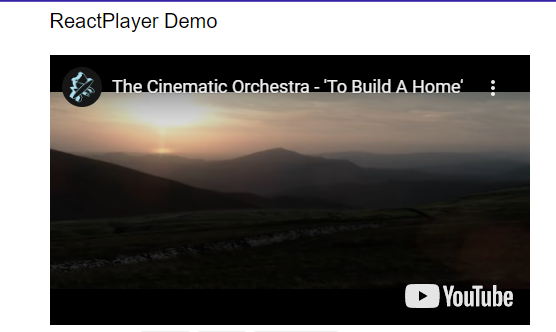
In this illustration, a media player that plays a YouTube video is rendered using the ReactPlayer component. The video URL is specified using the URL parameter, and the player’s default controls are activated using the controls prop.
Understanding and Application of the React Player Props

The React Player prop takes a wide range of other properties that may be used to alter the player’s behavior and look. You may utilize the React Player prop in your component after importing it by including a ReactPlayer element.
The React Player prop takes a wide range of other properties that may be used to alter the player’s behavior and look. For instance, you can use the controls prop to indicate whether or not the player should include controls for the user to interact with and the URL prop to specify the video URL of the media you want to play.
Here is an illustration of how you could incorporate a YouTube video into your React component using the React Player prop:
<ReactPlayer
  url="<https://www.youtube.com/watch?v=dQw4w9WgXcQ>"
  controls
  width="640"
  height="360"
/>
In this illustration, the controls prop enables the player control, the URL prop defines the URL of the YouTube video to play, and the width and height props define the player’s dimensions.
You may alter the behavior and look of the React Player prop by combining it with a variety of additional properties. Some of the props that are most frequently utilized include:
- playing: Indicates whether the player should begin playing immediately once it has loaded.
- loop: Indicates whether the media player should loop back to the start when it reaches the conclusion.
- muted: Indicates whether the audio should be muted upon startup for the player.
- poster: specifies just the video thumbnail to show before the video starts.
- onReady: specifies a callback method that will be used when the player is prepared to start playing.
However, the React Player documentation contains a comprehensive list of all the props that are compatible with the React Player prop.
How to Hide or Display Native Player Controls for Videos
You may use the controls prop to show or conceal the native player controls for videos played with React Player. This property accepts a boolean value, with true turning on native player controls and false turning them off.
This is an illustration of how to employ the controls prop:
import React from 'react';
import ReactPlayer from 'react-player';

function MyPlayer() {
  return (
    <ReactPlayer
      url="<https://www.youtube.com/watch?v=IbJLWZaTcQs>"
      controls={false}  // Hide native player controls
    />
  );
}
The controls prop in this illustration is set to false, which implies that the native player controls for the movie will be suppressed.
The controls prop can be set to true instead if you wish to show native player controls:
import React from 'react';
import ReactPlayer from 'react-player';

function MyPlayer() {
  return (
    <ReactPlayer
      url="<https://www.youtube.com/watch?v=IbJLWZaTcQs>"
      controls={true}  // Show native player controls
    />
  );
}
Since the controls prop in this illustration is set to true, the video’s native player controls will be shown.
How to pass Multiple Sources and Track

The sources and tracks properties may be used to pass several sources and tracks to the React player. When using the sources prop, you may supply an array of source objects, each of which stands for a distinct source for the same movie. The tracks prop specifies an array of track objects, where each object denotes a separate track (for example, subtitles or captions) for the movie.
A sample of how to utilize the sources and tracks props is given below:
import React from 'react';
import ReactPlayer from 'react-player';

function MyPlayer() {
  return (
    <ReactPlayer
      url="<https://www.youtube.com/watch?v=IbJLWZaTcQs>"
      sources={[
        { src: '<https://www.youtube.com/watch?v=IbJLWZaTcQs>', type: 'video/mp4' },
        { src: '<https://www.youtube.com/watch?v=IbJLWZaTcQs>', type: 'video/webm' },
      ]}
      tracks={[
        { src: '<https://example.com/subtitles.vtt>', kind: 'subtitles', srclang: 'en' },
        { src: '<https://example.com/captions.vtt>', kind: 'captions', srclang: 'en' },
      ]}
    />
  );
}
The sources prop in this illustration is set to an array of two objects, each of which represents a different source for the same video (e.g. an MP4 and a WEBM version of the video). The tracks prop is configured to a set of two objects, each of which stands for a distinct track (such as subtitles and captions) for the video.
The React Player will take care of as many sources and tracks as you add, at no additional cost.
What are the other libraries for playing Video files in React Component?
Due to the pre-built, reusable components that libraries offer, which may help developers save time and effort, libraries are a crucial component of the React application development process. Developers don’t have to create intricate UI components from scratch; instead, they may leverage libraries to easily add functionalities to their React components, such as buttons, forms, and charts.
However, to play a video file in a React component, a variety of libraries are available. Popular choices comprise:
React-video
This is a straightforward React component that plays video files and supports streaming, seeking, and other features.
You can find more information and instructions on the usage of the react-video library can be found in its GitHub repository
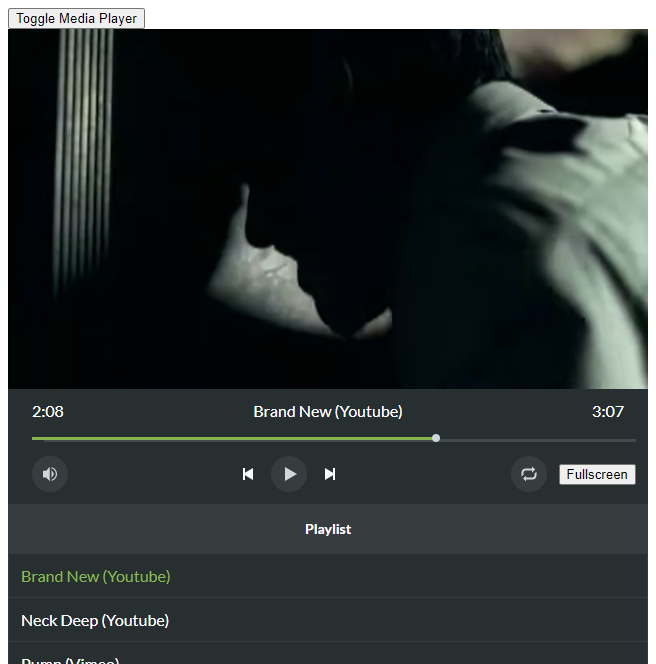
Video-react
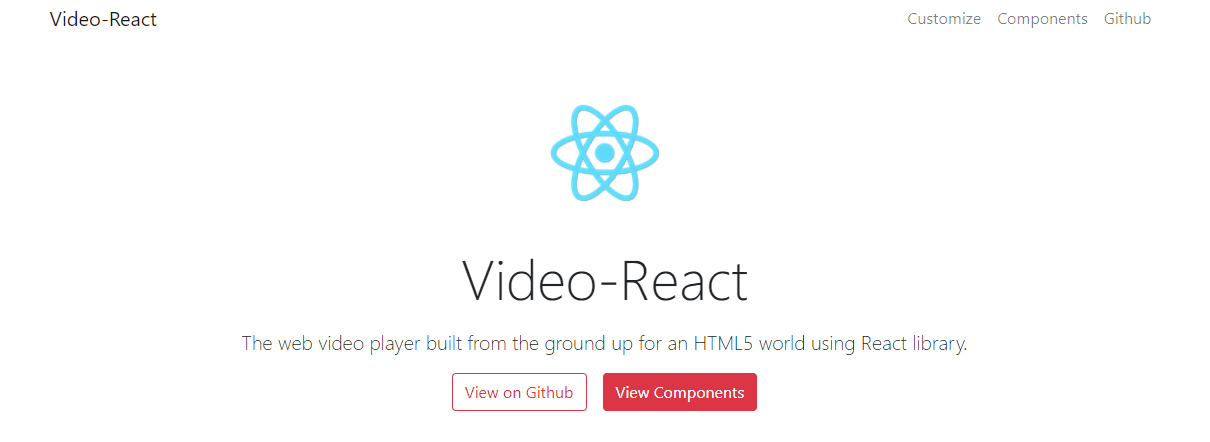
This is a well-liked framework for creating custom controls, audio-only playback, and other features for video player experiences in React.
However, the video-react library’s GitHub repository has further details and usage instructions.
React-html5-video
React HTML 5 video is a basic and straightforward bespoke video overlay content ( any HTML content on top of the video ).
There are further information and usage guidelines in the react-html5-video library’s GitHub source.
Conclusion
To render and add movies or players to websites using our react apps, we have so far thoroughly explored the procedures and tasks involved in dealing with the React player library. Understanding the React player and how to use it in components, understanding the React player properties and how to use them, setting up the React project, discussing various libraries for playing a video URL, and so on.
Anyone with this knowledge and information would be able to work with the React Player easily and quickly in React apps. Also, you can check out the video resource below on custom players in react.
Custom video player in React.js
Finally, our CopyCat blog has additional articles similar to this one. CopyCat transforms your Figma files into a finished React project, allowing you to cut development time by over 35%. Check out CopyCat by clicking here.
Interesting Reads From Our Blogs
- A Great Guide To Using Material UI Textfield Efficiently
- Material UI Grid: The Ultimate Guide to Building Responsive Web Layout in React
- Complete Guide to Using Material UI Button in React
- Optimize Performance with Reactjs Build Production
- React SVG: How to use SVGs best in React
Related Articles
-
 React.js
6 Great Methods to Achieve React JS Conditional Rendering With Examples
Conditional Rendering in React using Vanilla JS requires too much boilerplate to render the UI Markup. We use if-else, switch case, ternary operator, or any other React JS conditional rendering mechanism to achieve the task. It depends on your requirements…
January 25, 2022 -
React.js
Your Guide To The React Context API
Introduction More often than not, building React applications involves consuming data of different forms for our use. Primarily, data management in React applications is via props; and sometimes, that’s just all we need. However, as our application grows larger and…
August 26, 2022