

Make your developers’ lives easier by using CopyCat, an AI that can convert your Figma designs into React, Tailwind, Bootstrap, and other popular CSS frameworks. Click here to check out the CopyCat plugin for Figma.
Introduction
Building a map can be quite expensive when you’re making use of corporate private APIs such as Google Maps and MapBox. This article will introduce you to a free alternative called Leaflet.
The leaflet library is a free and open-source alternative to paid map-as-a-service like Google Maps and MapBox. It is simple to set up, mobile responsive, and absolutely free to use.
This article will walk you through the process of setting up and implementing maps in a React application using the react-leaflet library.
What is Leaflet?
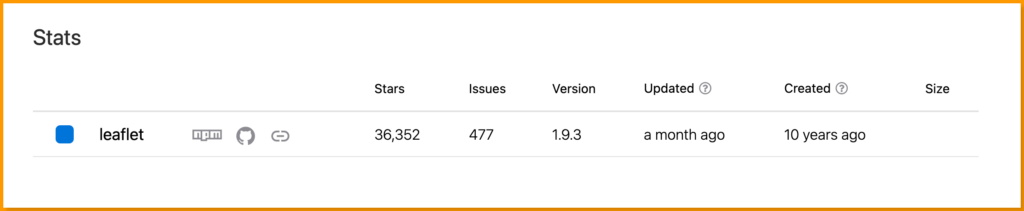
The leaflet is a free and open-source mobile-friendly map JavaScript library that has been around for 11 years and can be used to create high-level performance and scalable maps in the front-end.
It makes use of map data from OpenStreetMap and renders Maps using modern HTML5 and CSS3 features that are supported by all modern and older browsers.
As of the time of writing this article, the leaflet map library had more than 36k stars on GitHub, over 29k followers on Twitter, over 576k weekly downloads on Npm, and over 1m downloads on yarn.
What is react-leaflet?
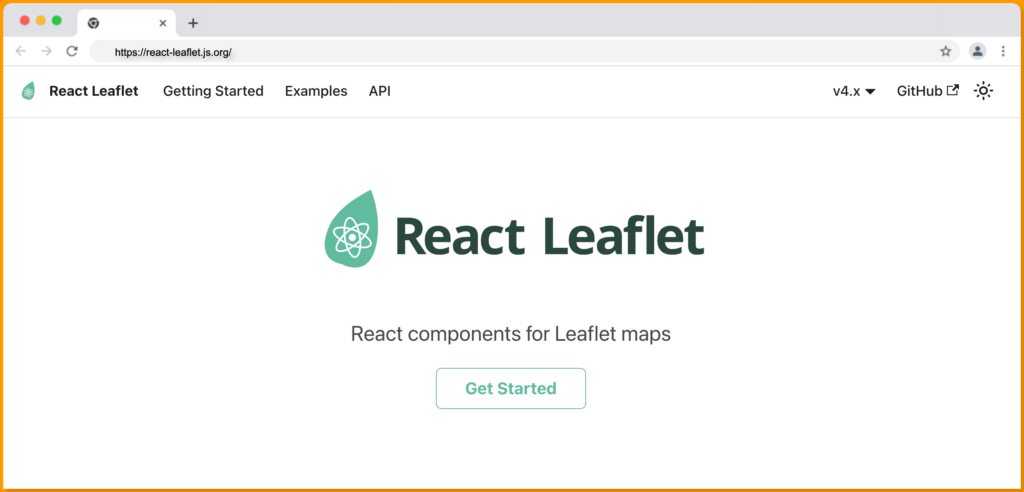
React-leaflet is a React component that allows you to render Leaflet maps in your react application. It acts as a wrapper component for the Leaflet library, allowing developers to create interactive maps in React using a component-based architecture.
React-leaflet enables developers to easily create custom components for their maps, such as custom markers, popups, and layers. It also makes it easy to integrate the leaflet library with other libraries, such as Redux and Redux-Saga, for more advanced features.

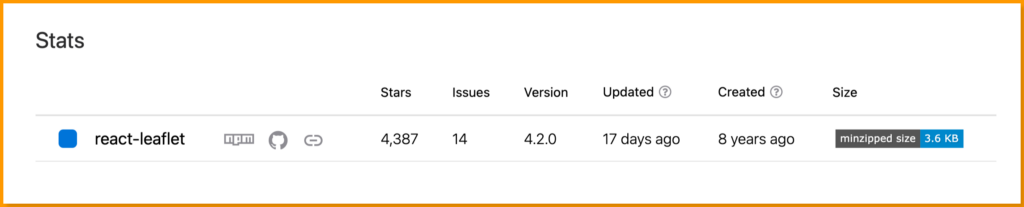
React-leaflet has over 234k weekly downloads on npm, and over 4k stars on GitHub.
Setting Up a New React App
Use the following command to create a new react application:
npx create-react-app my-app
Next, run the following command to navigate to your newly generated app directory:
cd my-app
Then run the following command to start your React server:
yarn start
Or using npm:
npm start
Your server should launch in your browser at http://localhost:3000, as shown below:
Install react-leaflet Library
The react-leaflet library is available for installation on both npm and yarn package managers.
Run the command below to install the react-leaflet using the npm package:
npm i react-leaflet
Or install react-leaflet with yarn:
yarn add react-leaflet
Adding Marker on Map in react-leaflet?
In this section, we’ll create a map component that renders a map to the UI, but first, we must add the leaflet CSS CDN to the index.html file for the map stylings.
Add the following link within the head tag in your index.html file:
<link
  rel="stylesheet"
  href="https://unpkg.com/leaflet@1.9.3/dist/leaflet.css"
  integrity="sha256-kLaT2GOSpHechhsozzB+flnD+zUyjE2LlfWPgU04xyI="
  crossorigin=""
/>
Next, we’ll target the leaflet-container class property to add height and width to our map so it can be displayed in our browser.
Add the CSS style rule below in your index.css file:
.leaflet-container {
  width: 100%;
  height: 100vh;
}
Rendering the Map
Now that we have the leaflet CSS sorted, we can proceed to create the map component and render it to the dom.
There are two required components to display a basic map using the react-leaflet:
- The MapContainer and
- The TileLayer
The MapContainer instantiates a Leaflet Map and creates the React context containing the map instance for its children.
The TileLayer allows us to work with the cached map service from OpenStreet map API and add it to the leaflet map as a tile layer.
Follow the steps below to create a Map component:
- First, Create a new component folder in the src folder.
- Next, create a Map.jsx file in the component folder with the following code:
import React from "react";
import { MapContainer, TileLayer } from "react-leaflet";
export const Map = () => {
const position = [8.1386, 5.1026]; // [latitude, longitude]
const zoomLevel = 13;
return (
<MapContainer
center={position}
zoom={zoomLevel}
scrollWheelZoom={false}
>
<TileLayer
attribution='© <a href="https://www.openstreetmap.org/copyright">OpenStreetMap</a> contributors'
url='https://{s}.tile.openstreetmap.org/{z}/{x}/{y}.png'
/>
</MapContainer>
);
};
From the code above:
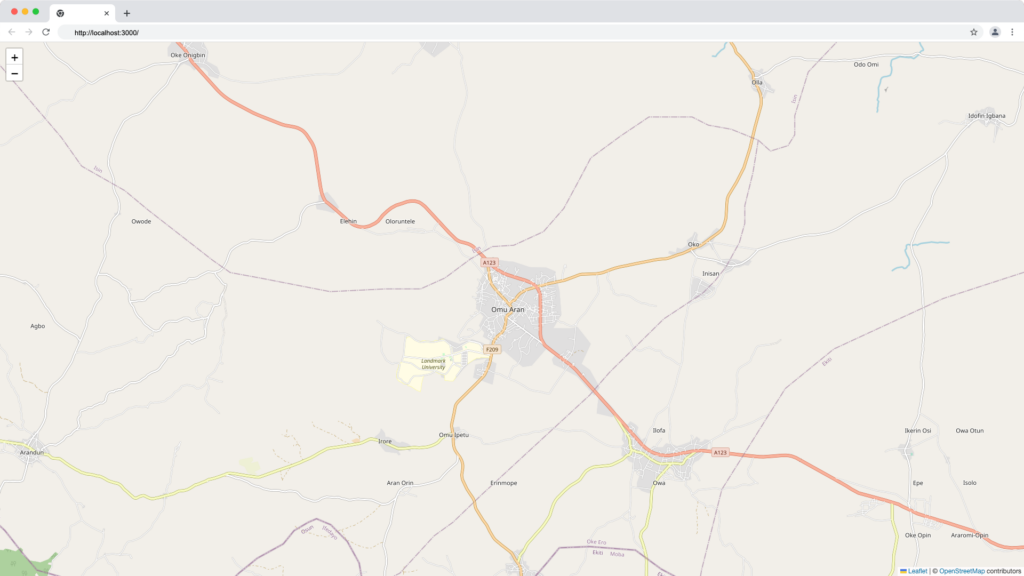
- We declared a position set to an array containing a latitude and longitude. This will be the exact location we want to display on our map.
- We set the zoom attribute to 13; This will make the map center on the location with a zoom level of 13 when the page loads.
The code above will produce this following map with the specified latitude and longitude:
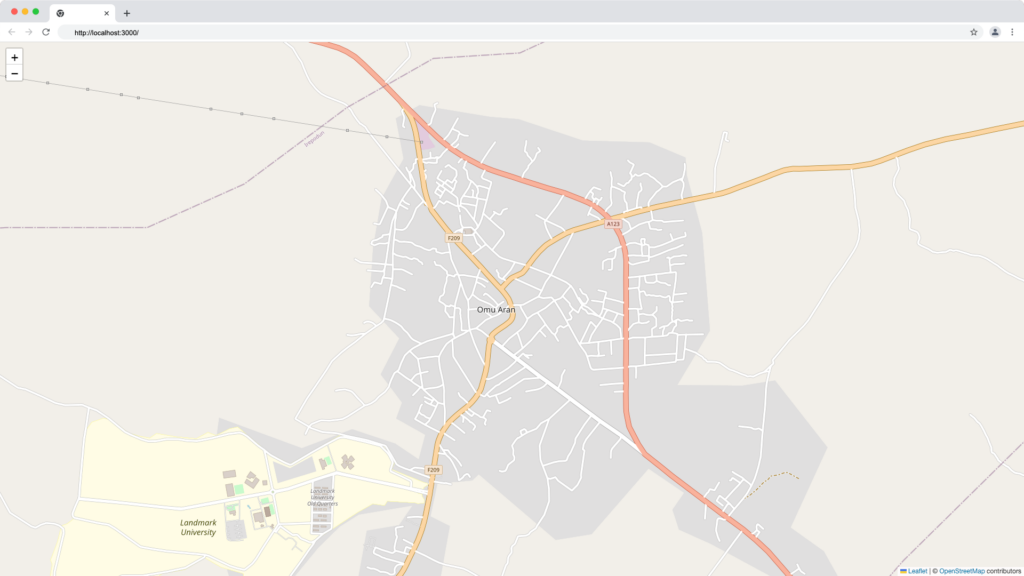
A zoom level of 15 will look something like this:
You can also manually adjust the zoom level with the zoom control at the top left of the map as demonstrated below:
Displaying Popups in react-leaflet Maps
We can display more information about a specific marked point or position on the map as shown below using the Marker and the Popup components from react-leaflet.
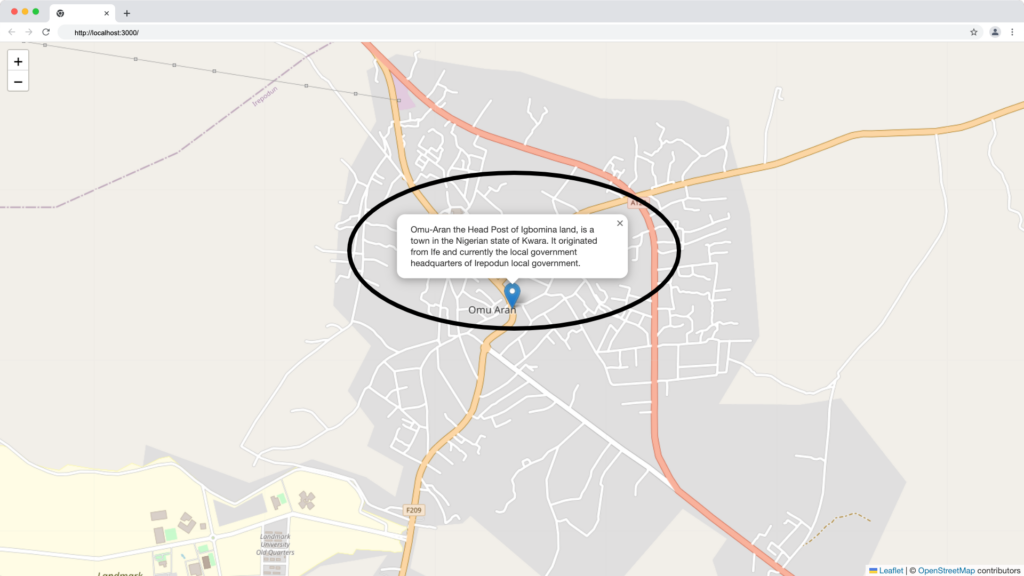
The Marker component will accept a position prop, which specifies where the marker should be placed on the map, as well as a Popup component as a child component, which will display a popup box when the marker is clicked.
To implement a popup in react-leaflet map, import the Marker and the Popup component as shown below.
import React from "react";
import { MapContainer, Marker, Popup, TileLayer } from "react-leaflet";
export const Map = () => {
const position = [8.1386, 5.1026];
const zoomLevel = 15;
return (
<MapContainer zoom={zoomLevel} center={position} scrollWheelZoom={true}>
<TileLayer
attribution='© <a href="https://www.openstreetmap.org/copyright">OpenStreetMap</a> contributors'
url='https://{s}.tile.openstreetmap.org/{z}/{x}/{y}.png'
/>
<Marker position={position}>
<Popup>
Omu-Aran the Head Post of Igbomina land,
is a town in the Nigerian state of Kwara.
It originated from Ife and currently the local
government headquarters of Irepodun local government.
</Popup>
</Marker>
</MapContainer>
);
};
The Marker will point to a specific position while the Popup will be displayed when a user clicks on the marker as demonstrated below:

Adding Custom Marker Icons to react-leaflet Maps
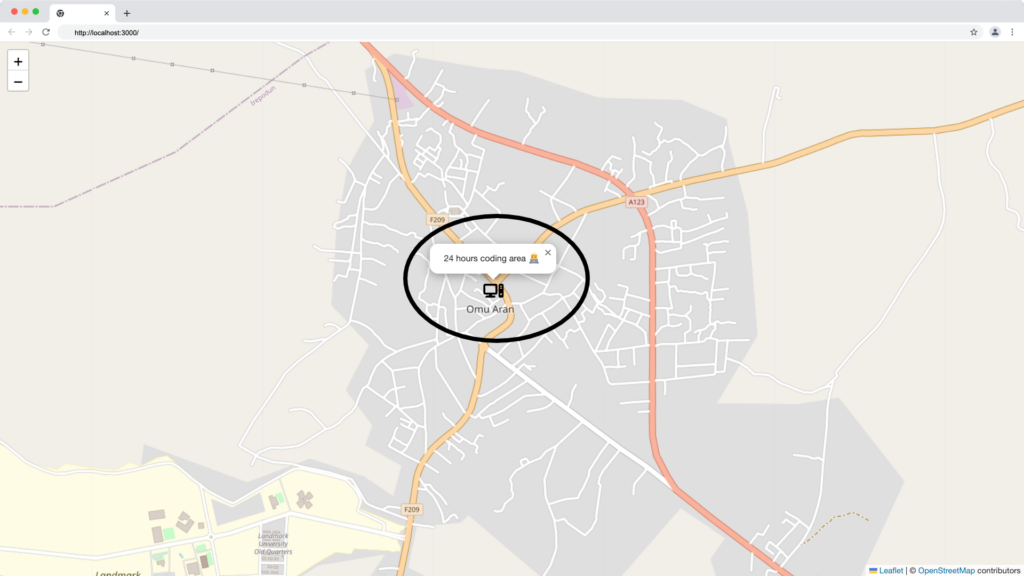
We’ll use the Icon class from leaflet to create and render a custom icon as a position marker on the map. Custom icons can be used to represent a specific location on a map in PNG, JPG, SVG, or any other image format.
For this tutorial, we downloaded a computer solid svg from fontawesome and store it in a images folder created in the public folder.
Update your Map.jsx file with the code below:
import React from "react";
import {
MapContainer,
Marker,
Popup,
TileLayer
} from "react-leaflet";
import { Icon } from "leaflet";
export const Map = () => {
const position = [8.1386, 5.1026];
const zoomLevel = 15;
const codingSpot = new Icon({
iconUrl: "/images/computer-solid.svg",
iconSize: [30, 125],
iconAnchor: [40, 90],
popupAnchor: [-25, -40],
});
return (
<MapContainer zoom={zoomLevel} center={position} scrollWheelZoom={true}>
<TileLayer
attribution='© <a href="https://www.openstreetmap.org/copyright">OpenStreetMap</a> contributors'
url='https://{s}.tile.openstreetmap.org/{z}/{x}/{y}.png'
/>
<Marker position={position} icon={codingSpot}>
<Popup>24 hours coding area 👨💻 </Popup>
</Marker>
</MapContainer>
);
};
From the code above we import the Icon class from leaflet and create a new codingSpot instance of the icon and provide the following prop to it:
- iconUrl: The location of the custom icon.
- iconSize: The height and width of the custom icon.
- iconAnchor: The position of the icon relative to the marker.
- popupAnchor: The position of the popup relative to the custom icon.
Finally, we set the codingSpot as a value to the Marker component’s icon prop. The custom icon should display as follows when you visit your browser:
You can find the complete source code and resources used in this tutorial in this Gist.
Wrapping Up
The react-leaflet and leaflet are open-source map library that is powerful, customizable, and lightweight, making map development in React simple and free.
In this tutorial, you’ve learned how to set up and work with maps in a React application using the leaflet open street map and react-leaflet map library.
Finally, more articles like this can be found on our CopyCat blog. CopyCat converts your Figma files into a ready-to-use React project, saving you over 35% of development time. You can check out CopyCat here.
Interesting Reads From Our Blogs
- Creating Tooltips in React with React-Tooltip Library
- Top React Carousel Component Libraries
- React SVG: How to use SVGs best in React
- A Complete Guide On How to Use Bootstrap Breakpoints
- Optimize Performance with Reactjs Build Production
Happy Coding 👨🏽💻
Related Articles
-
 React.js
React useContext: The Best Way to Manage State in React
How React useContext Helps You Imagine you're building an e-commerce website that allows users to purchase products from multiple vendors. Each vendor has its own inventory and shipping policies, and you need to keep track of all this information to…
March 22, 2023 -
React.js
How to Work With the React onClick Event Handler in React Applications
Introduction If you think about how you got to this very page, we would agree that you made some actions. Actions like searching on the search bar, clicking on the link or subsequent links, and so on. Each of these…
December 20, 2022